✅ c9: molding and casting
During this week, we were introduced to the world of molding and casting techniques, going briefly through its history and then thoroughly over some major principles.
We learned about the types that molding and casting can be classified under, such as analog and digital, the number of sides, etc… After that we delved deeper into some details around this technique, going over ways to prepare molds, the hardness of it, how to align a 2 piece mold, how to get high amounts of detail in a mold, how to de-mold and avoid sticking, how to calculate the efficiency of a mold depending on the job at hand.
Personally, I have always been interested in making molds, in fact, together with Kai, we had already tinkered in molding and casting during our first microchallenge for our bio-stamps. We iterated many different molding techniques, between analog and digital, using laser cut, 3d printing, etc… We tested out the myriad of errors and successes that can be achieved in different types of molding and casting.
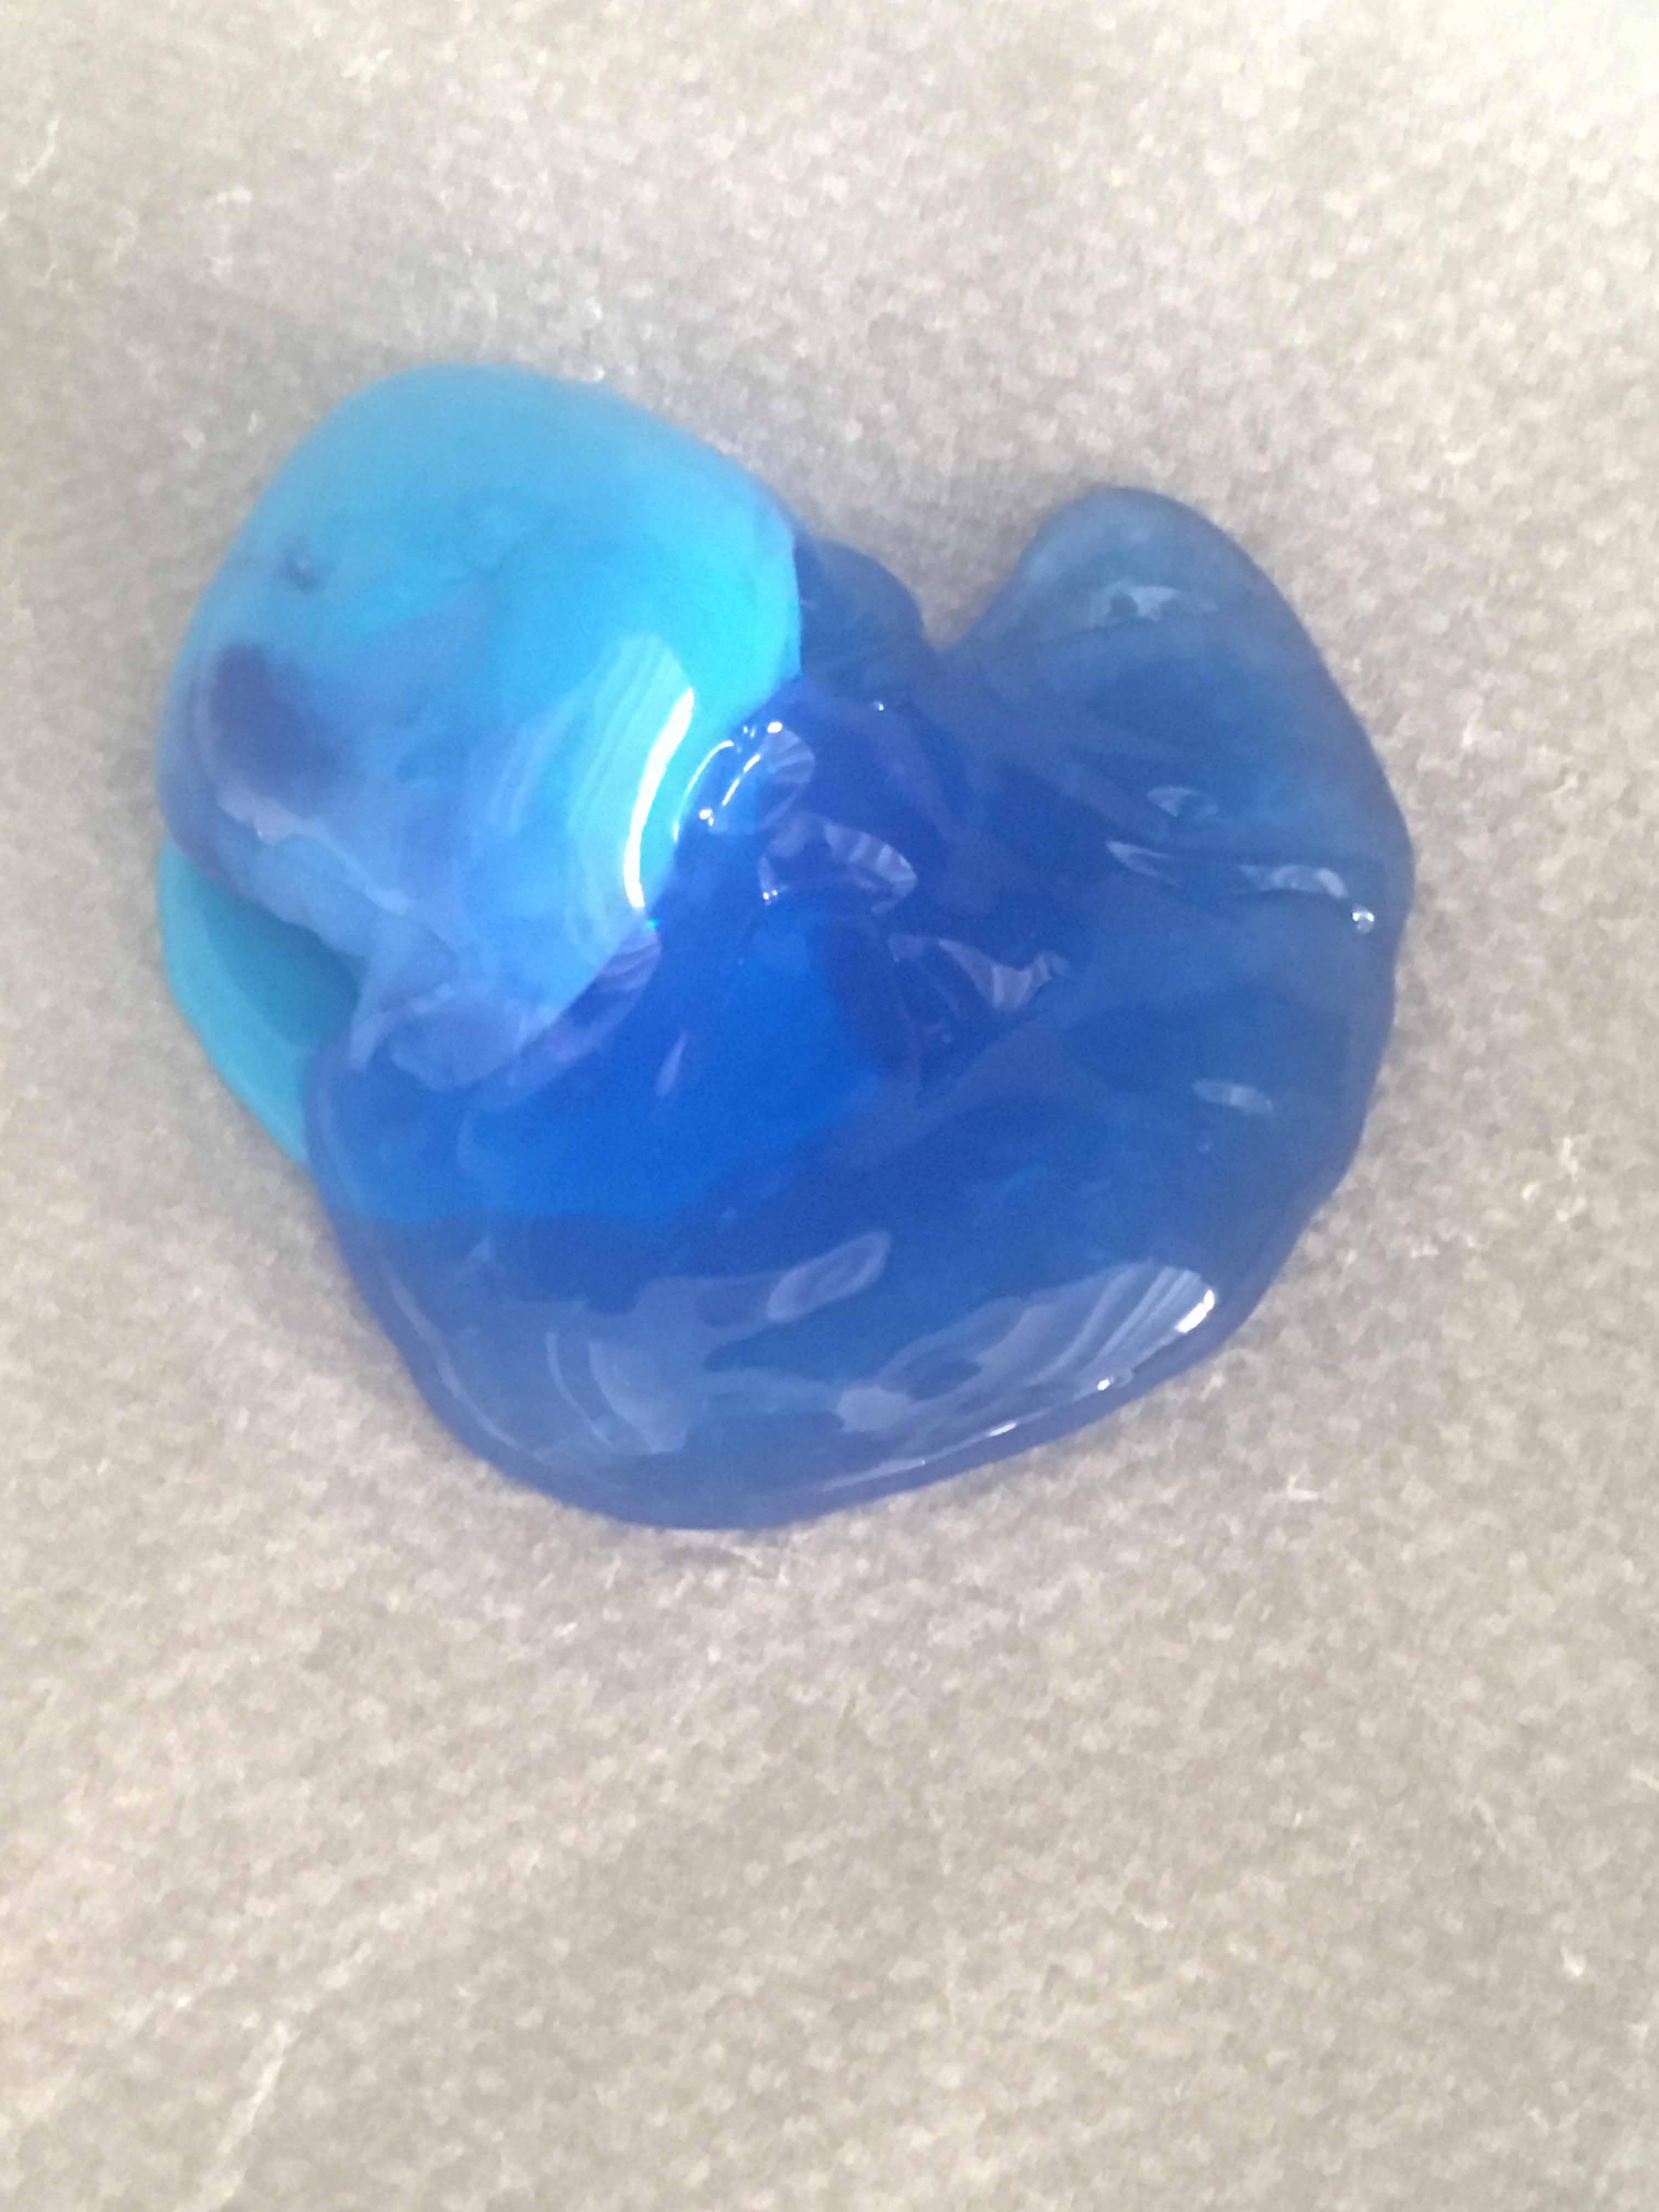
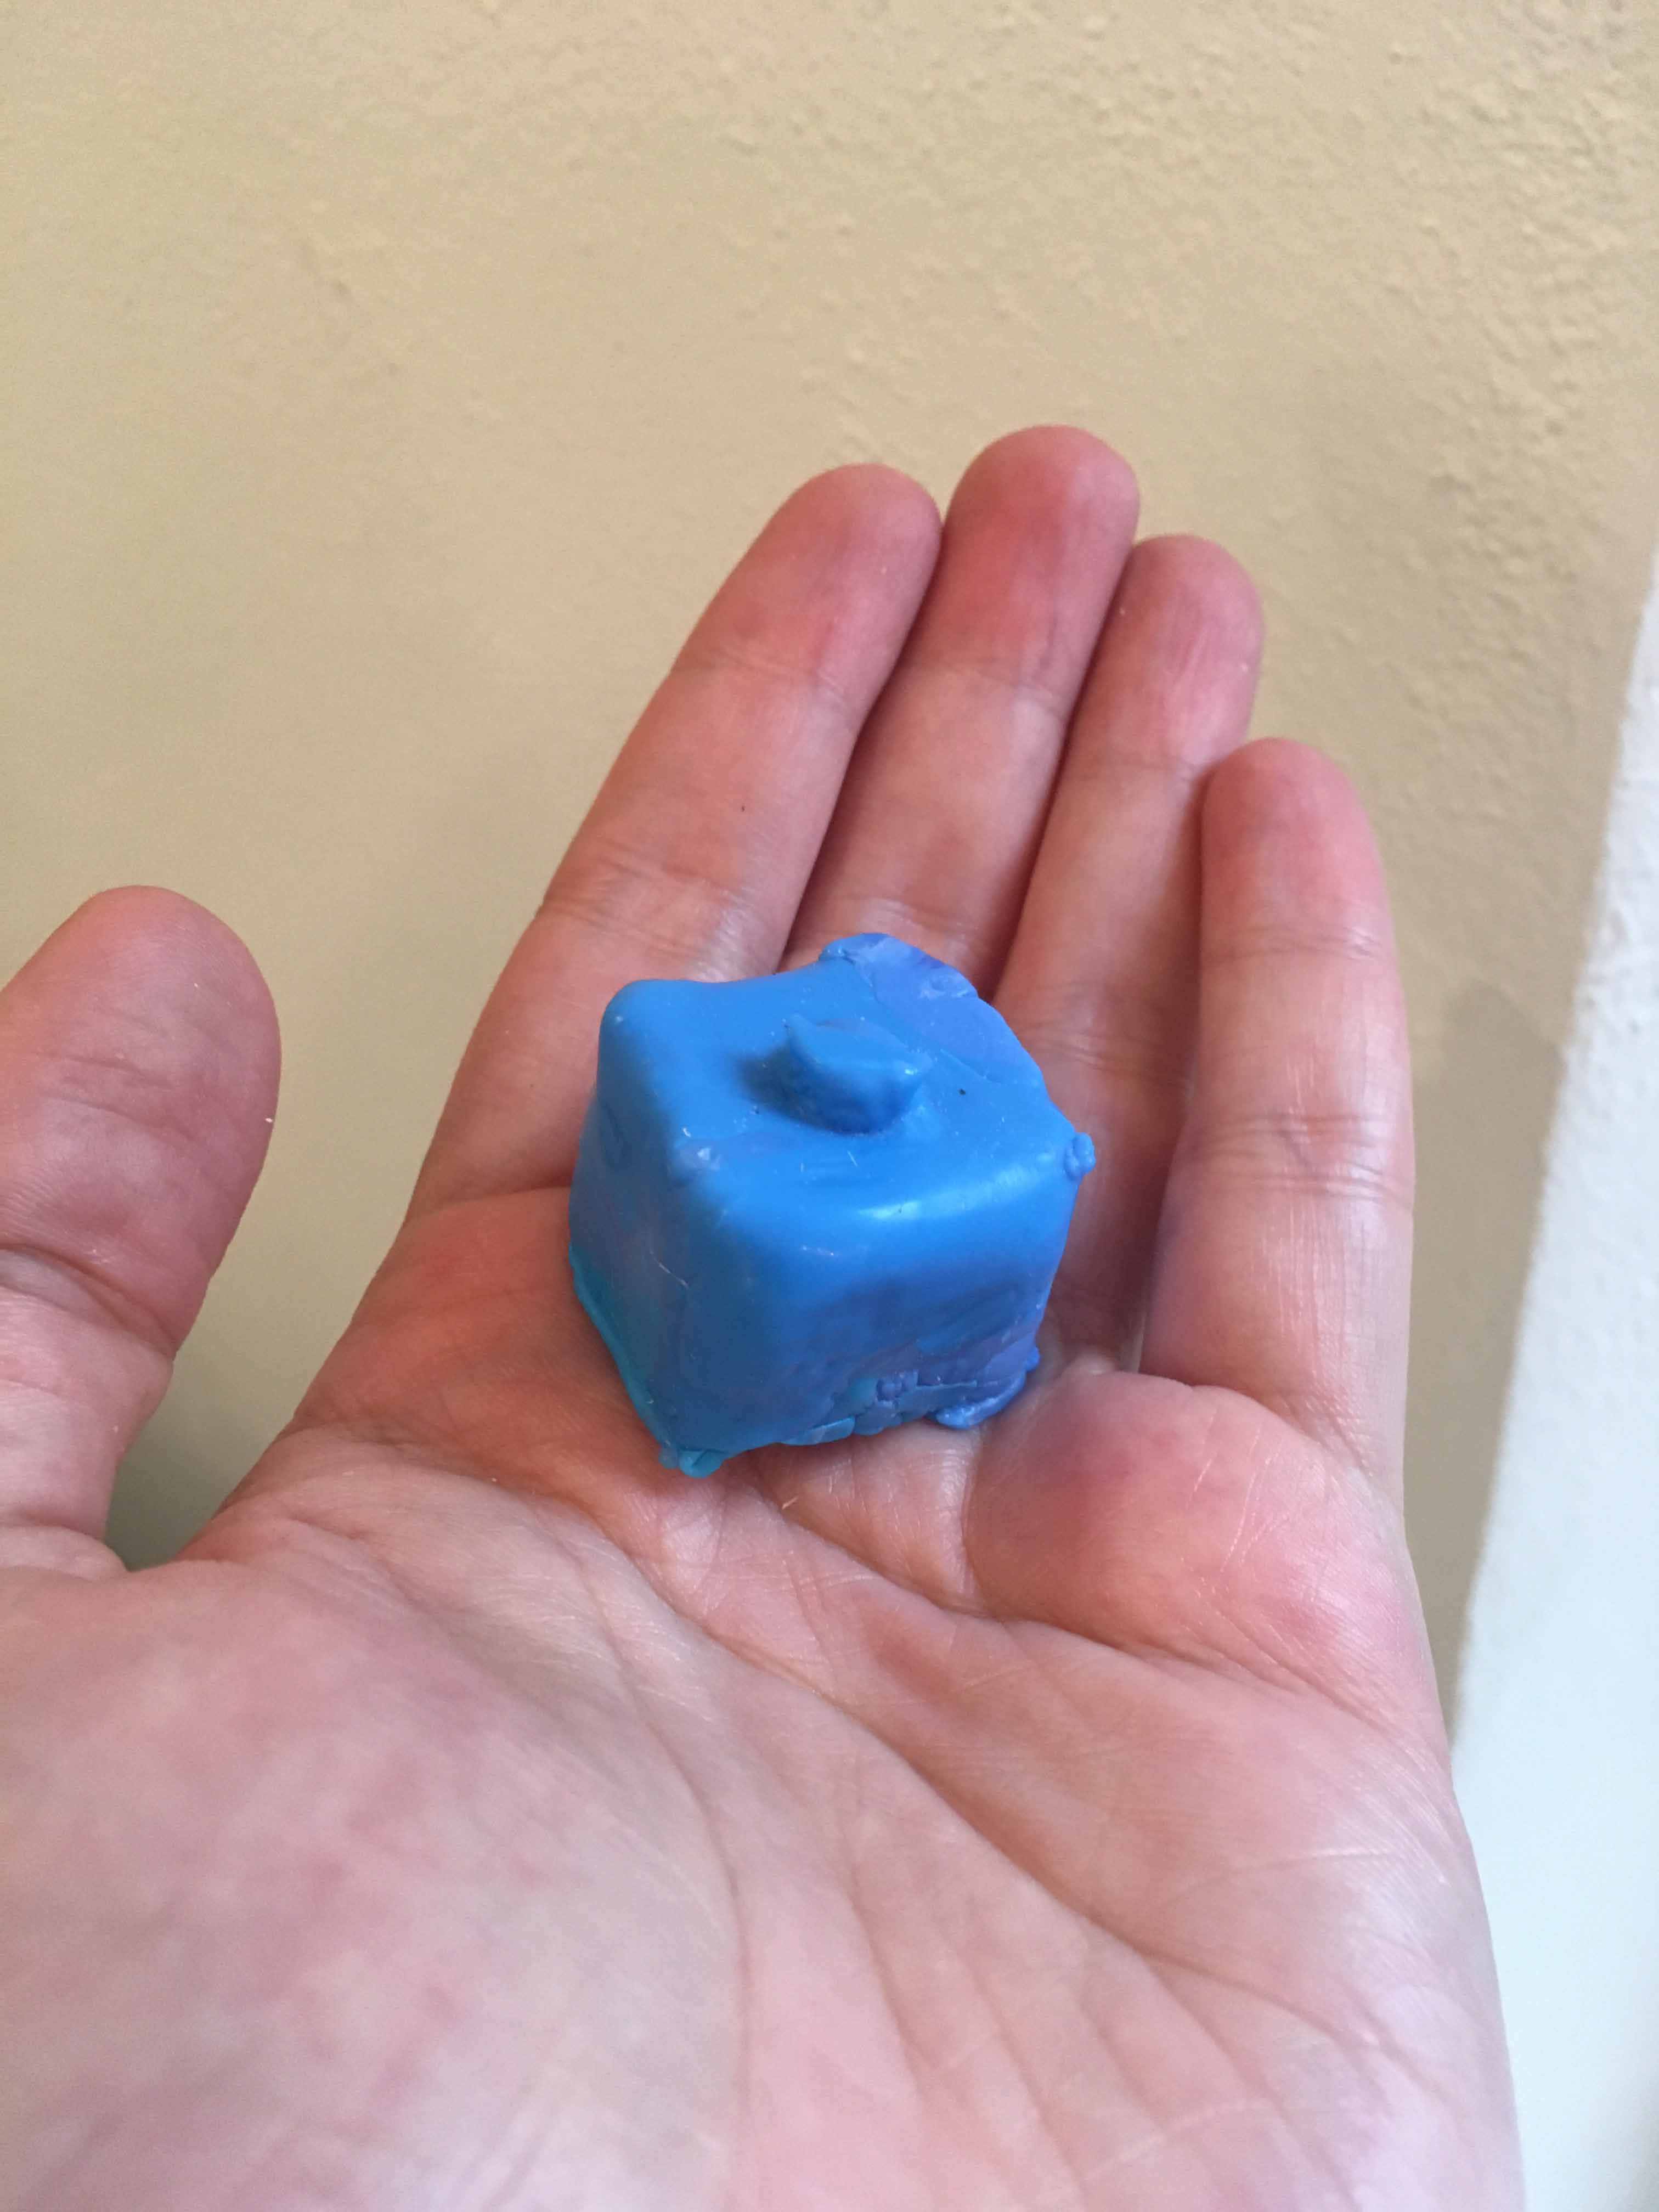
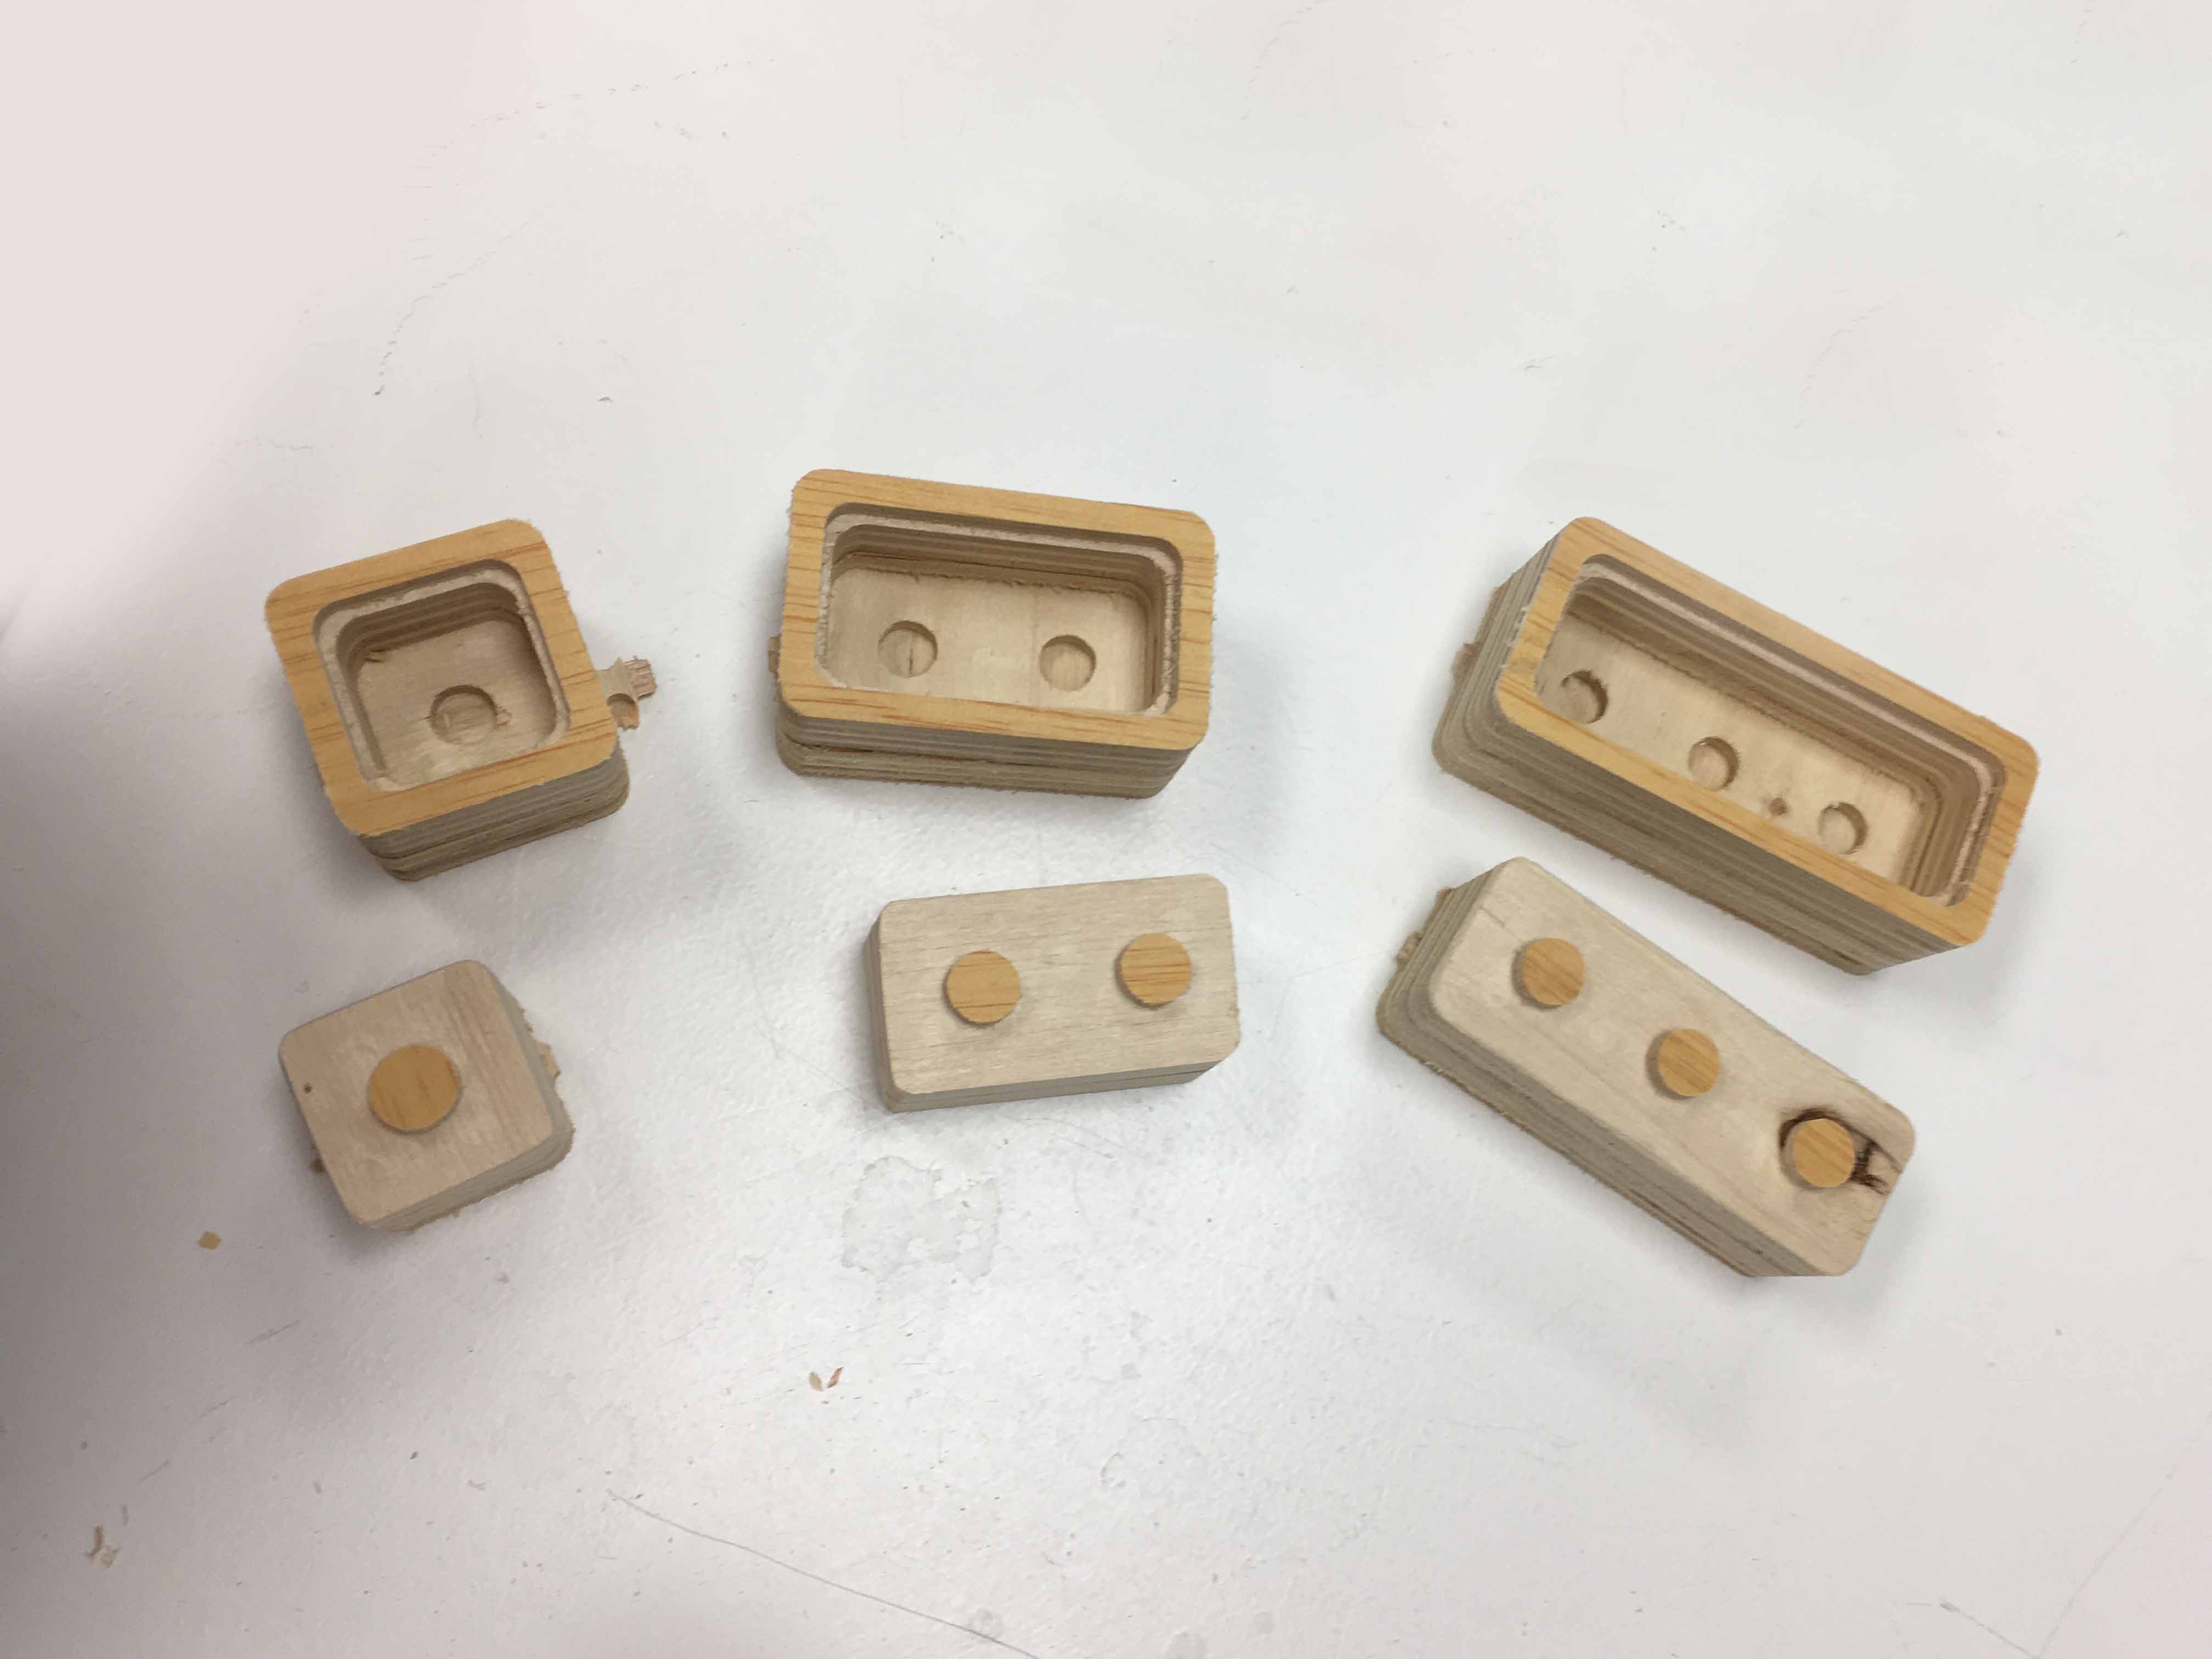
For the assignment, I chose to make a wooden mold using the CNC milling, as I had already used silicone previously. And as part of my project around domestic circularity and recycling, I decided to melt HDPE plastic cups into lego blocks at home. Below are some images of this process. Here, as it is in 2.5D, I did the design on Illustrator and later uploaded the .dxf files to easel and specified the hole types and depths.
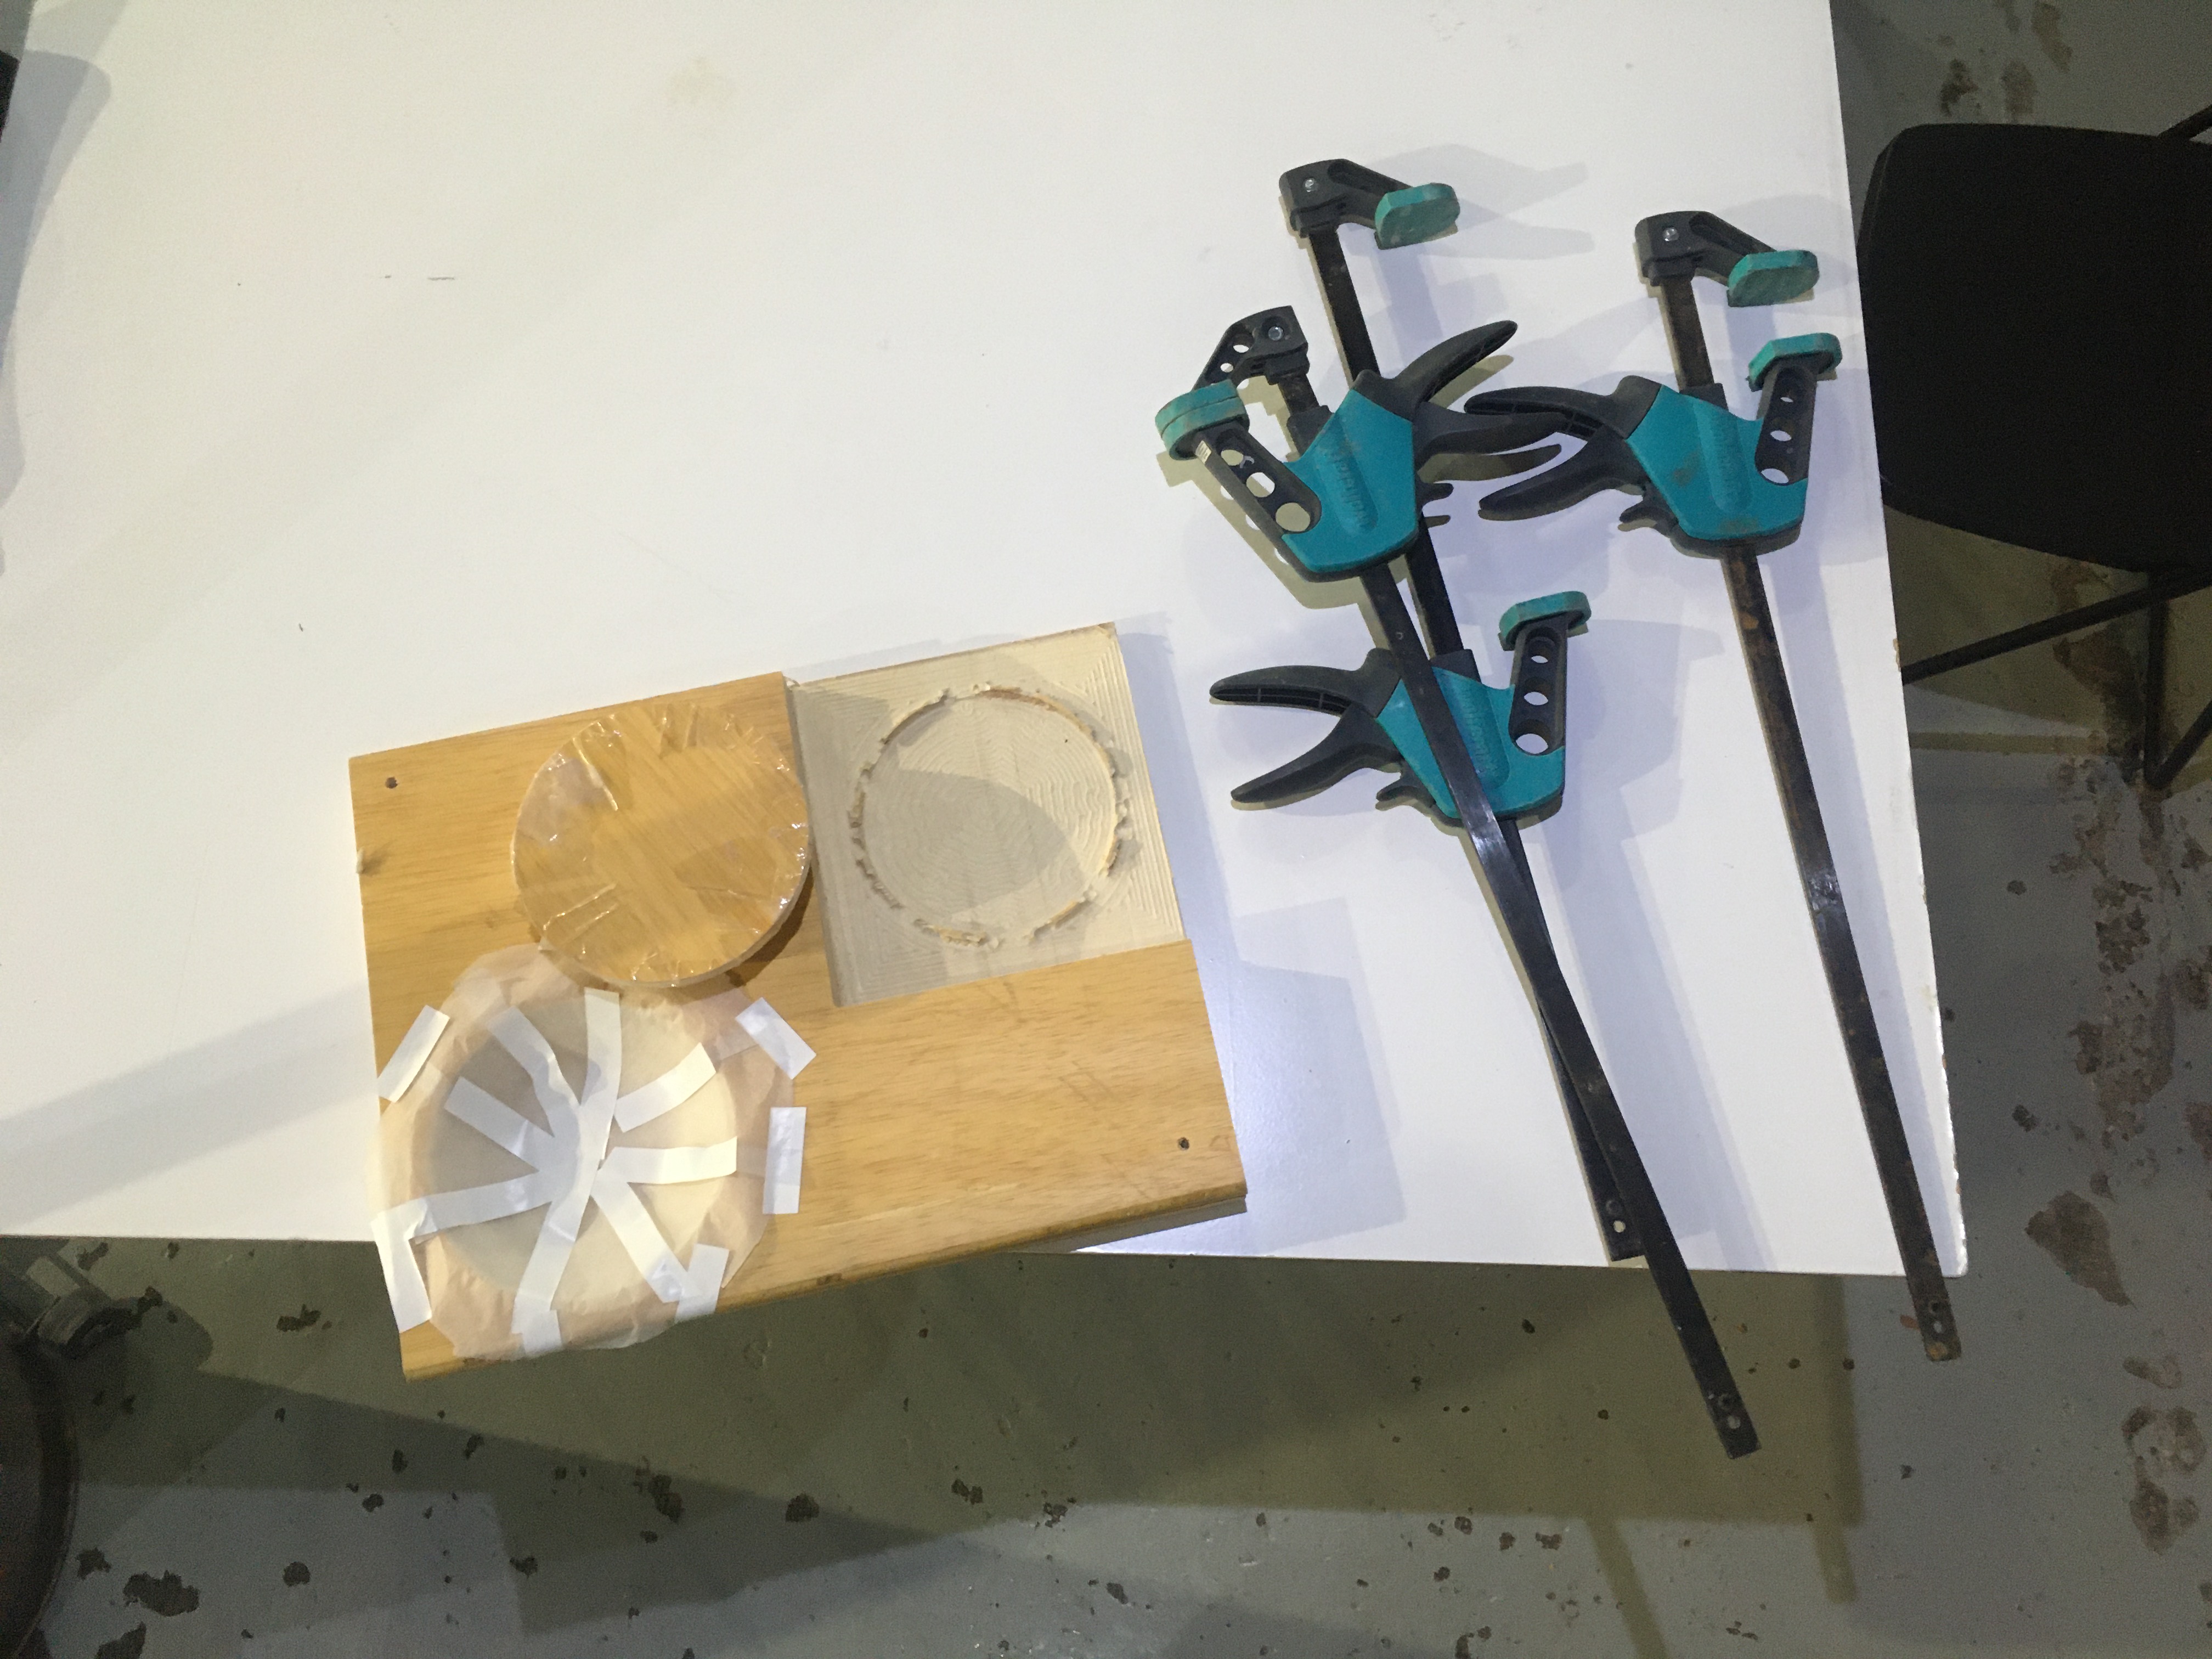
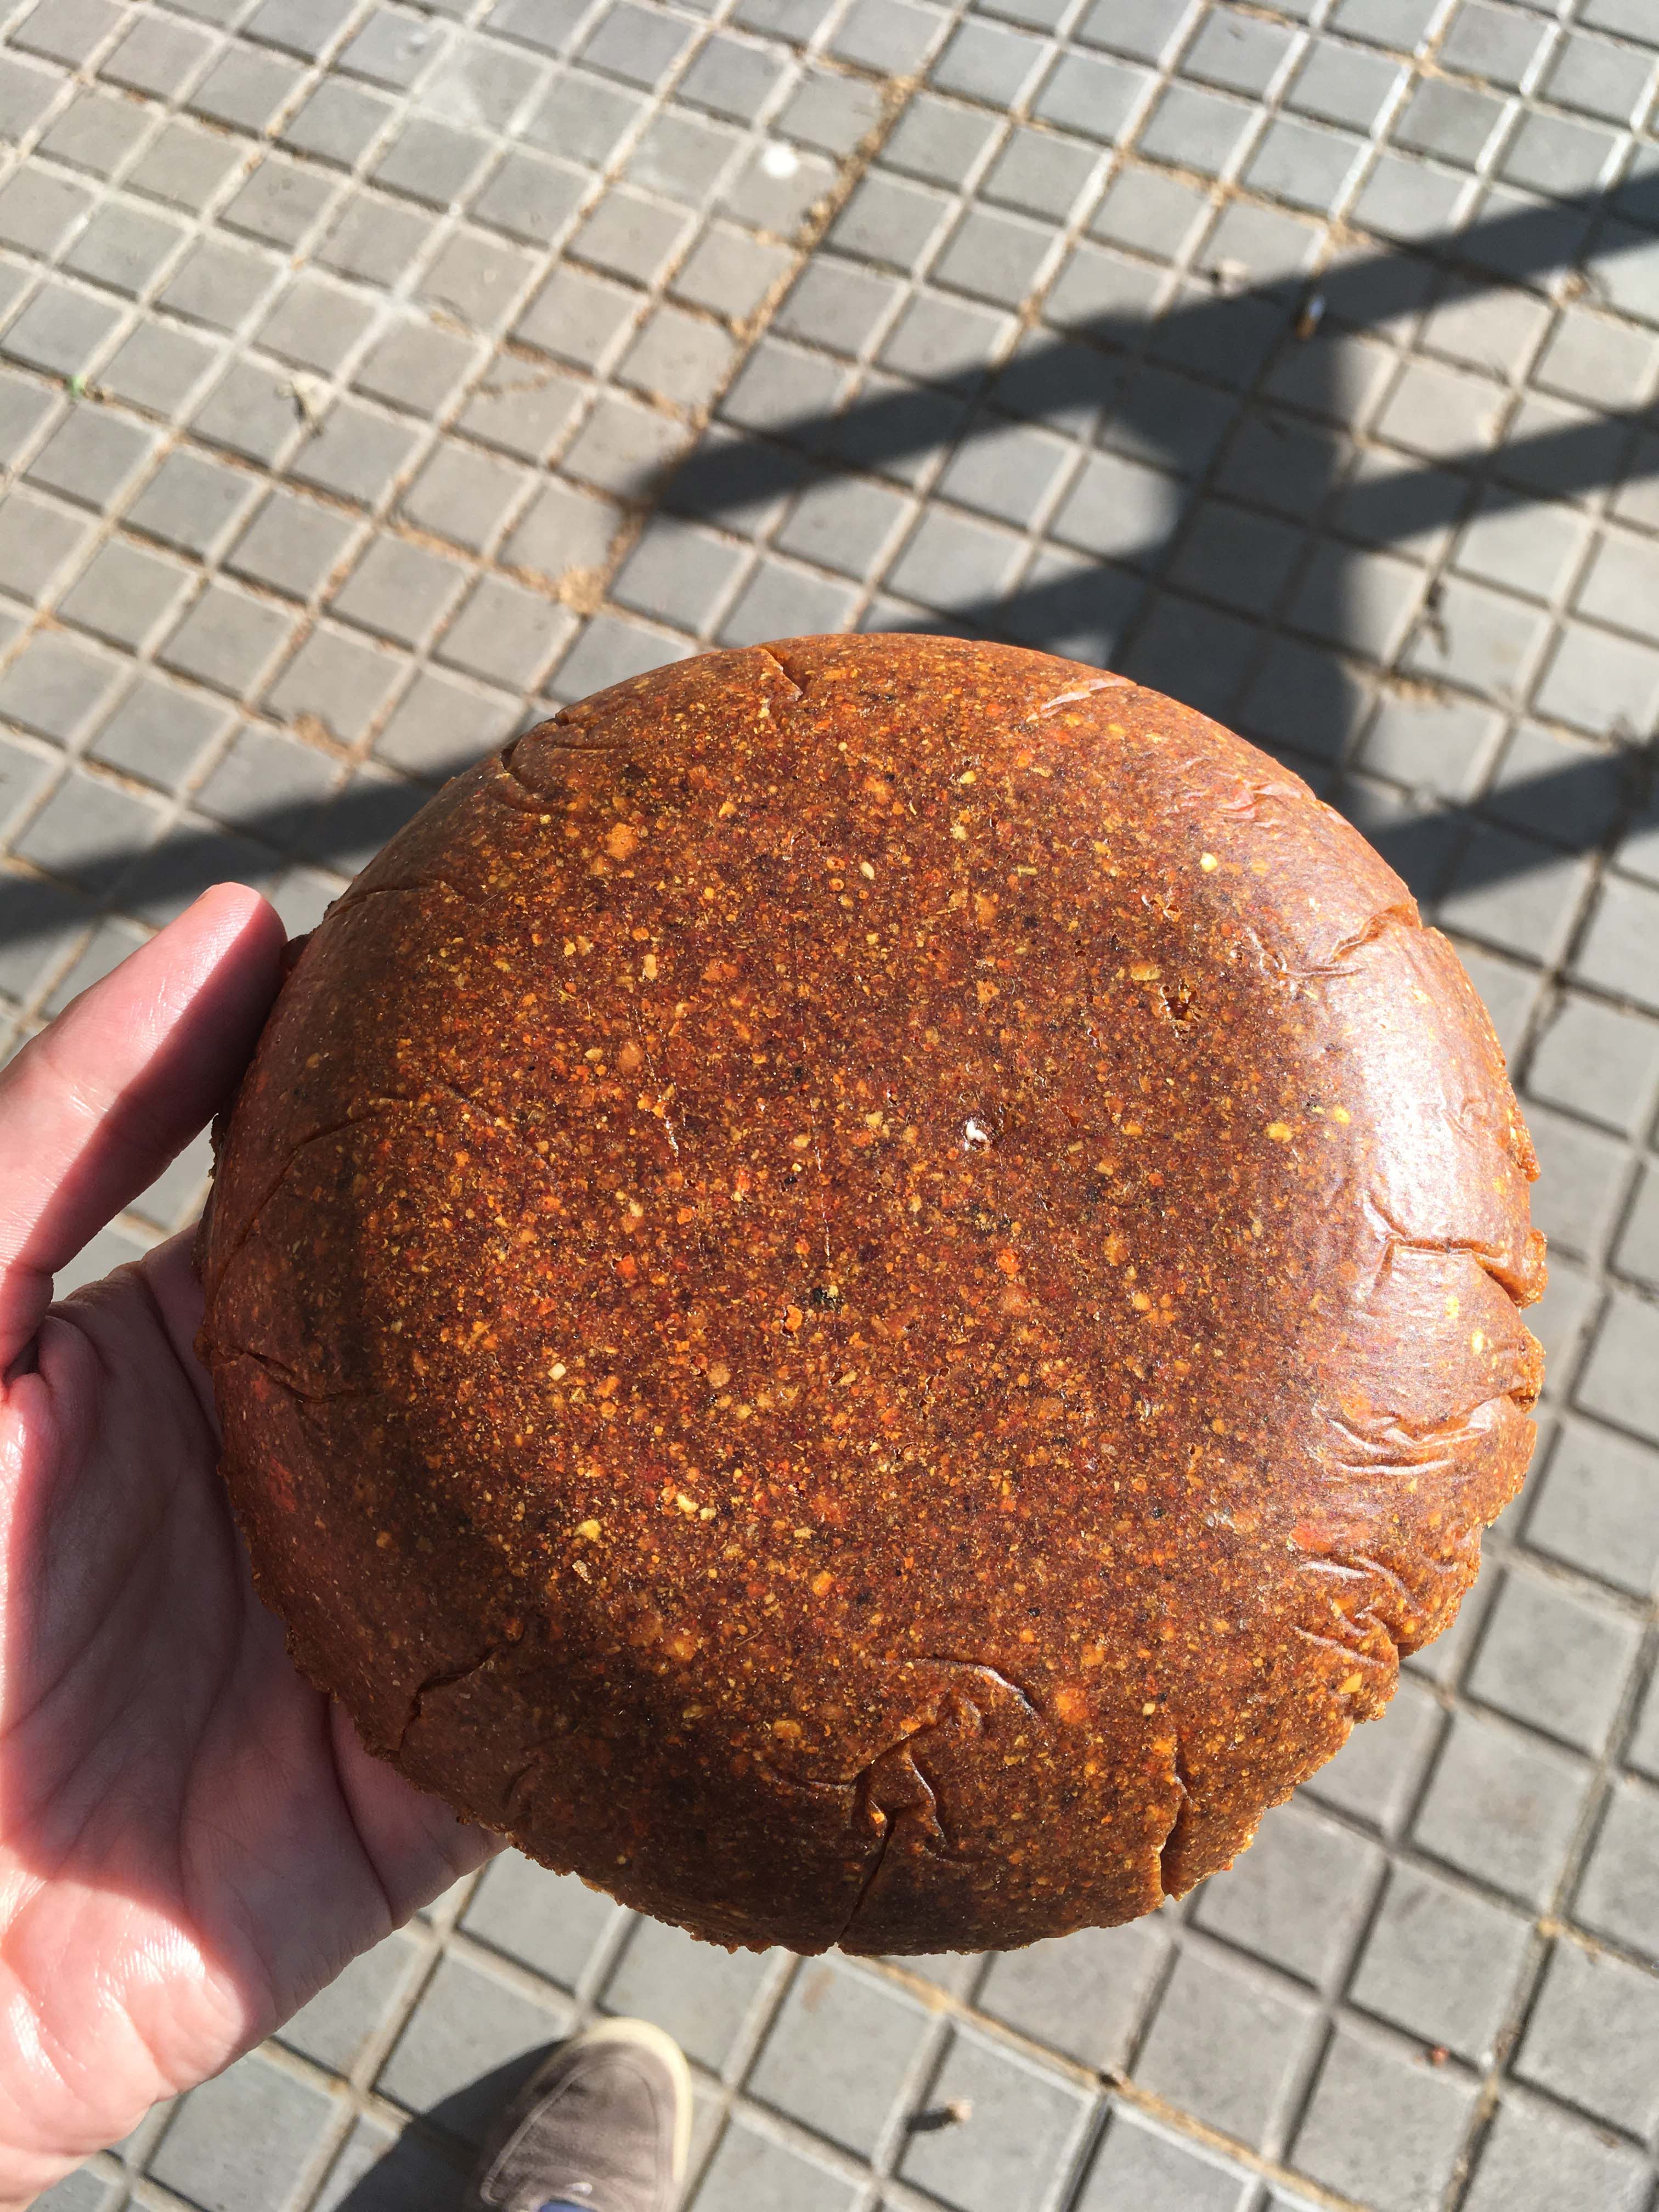
Aside that, I have also used the CNC to make a 2-piece bowl presser mold for our biomaterials recipe. Here, I designed the bowl on Fusion but it was a mess to generate the g-code as I had to transfer the model to .stl and then upload it on Rhino and then make a g-code. And unfortunately, the design was an open mesh so the CNC made the shape and destroyed it which forced me to re-book the process.
