✅ c6: electronics design
For this course, we went with Josep over some major notions of electronics design, some softwares we can use and some main principles to note.
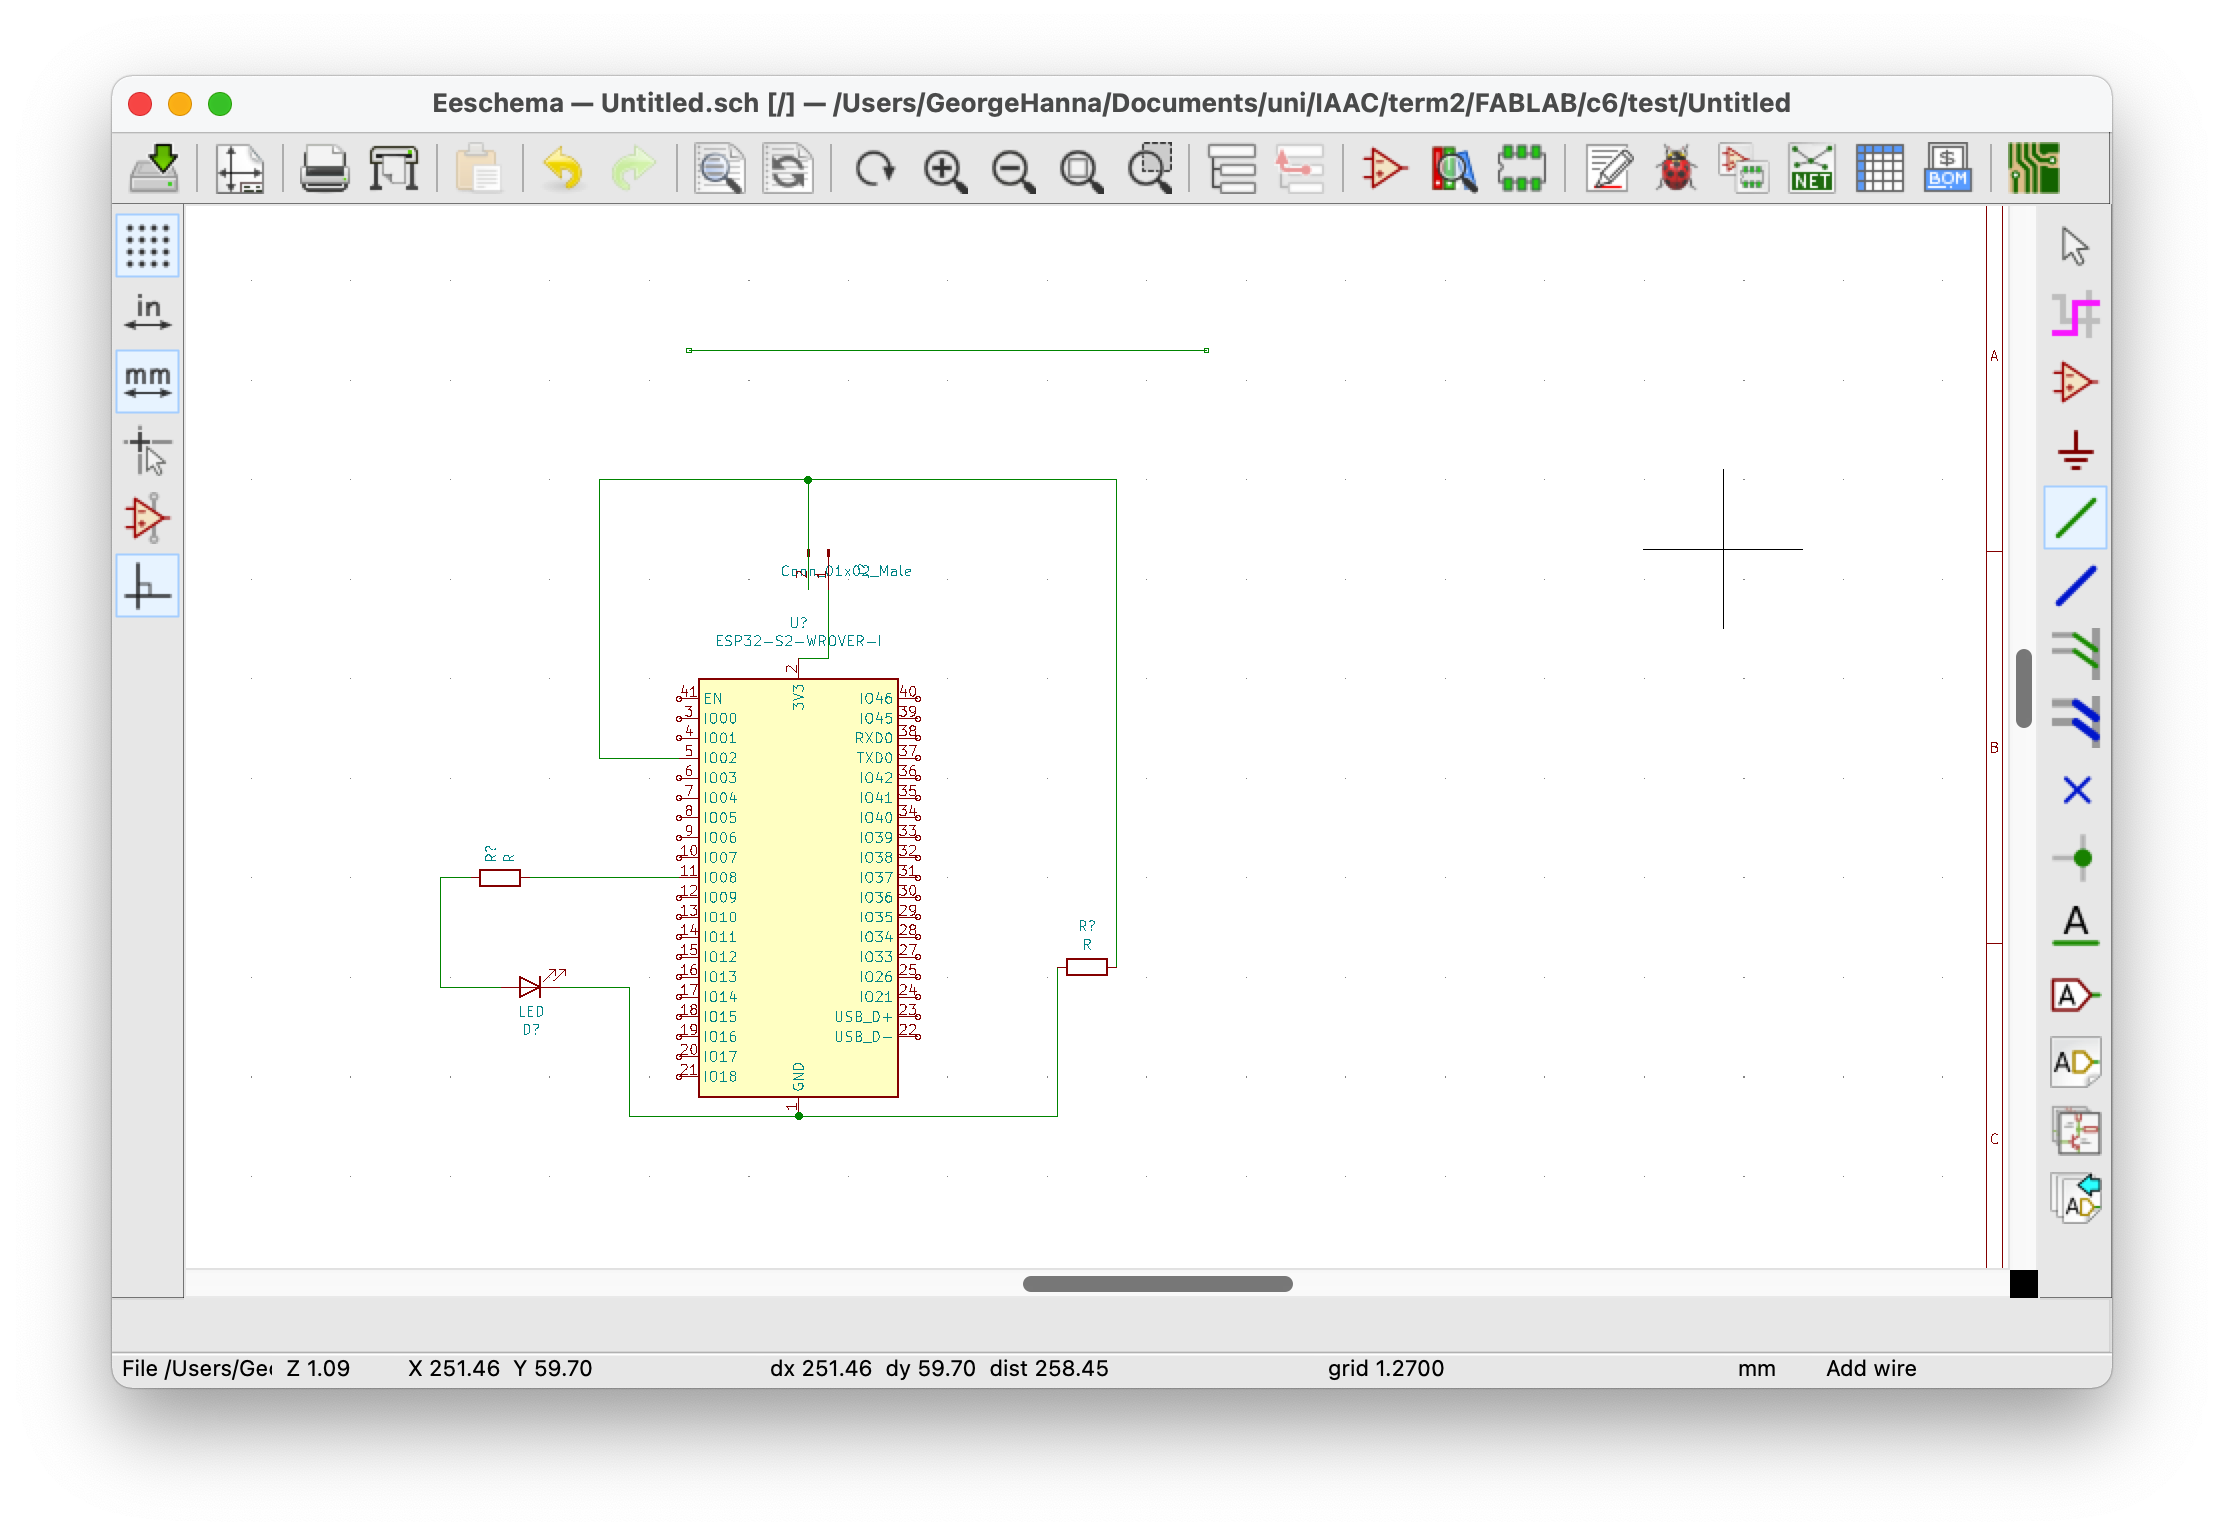
We worked on KiCAD, a software that allows you to upload your electronics library (with their respective specs) and make schemes out of several components (resistors, capacitors, diodes, etc...) in order to design and test out some possible circuits before preparing them for milling.
Our assignment required us to design a PCB on KiCAD that would allow us to connect inputs and outputs on our ESP32 commercial board without having to use any cables.
Personally, I struggle a lot with these electronics things, even though I am very interested in them. Aside everything else going on in the masters, I felt like I didn’t have the proper time to delve deeper into the logical components and the mechanisms behind this. For this reason, I used Angel’s documentation and assistance as a reference and followed through her same process.
These are the components I needed:

The goal circuit to be later turned into a PCB through KiCAD and milling is constituted of a light sensor with a led that lights up when there’s a low threshold of light hitting the photoresistor.
.jpeg)
Now moving to KiCAD, to make the layout of the PCB to be milled bas on the circuit that I have created.

Having struggled very much so with this part, I have decided to follow up with Angel and follow her process of doing it.